A layout that
responds
A button press, an approaching visitor or a signal from the layout can trigger the next action. Link inputs to lighting, mechanisms and scenes.
A button or sensor sends a signal to the controller.
One signal can start an entire show
From signal
to action
Choose the event your layout should respond to. Then assign the appropriate action.
Buttons and switches
Trigger actions from a physical panel. Buttons can guide visitors through an exhibition.
Reed switches
Use an input state change to detect the position or passage of a layout component.
Movement and distance
Respond to presence and proximity using a sensor and interface suited to the installation.
Thresholds and delays
Define when a reading should trigger a response and how long to wait before the next action.
Input states
Check readings during setup and diagnostics. This makes it easier to associate a sensor with its location on the layout.
Signal-triggered scenes
In PRO, link inputs to conditions and actions. A signal can start a sequence of devices.
How will you use it
on your layout?
A button beside the display case
A visitor presses a button. The selected part of the layout lights up and a short presentation begins.
Come closer to see
A presence sensor starts a scene in the exhibition area. A delay helps set the rhythm of successive shows.
A signal from the mechanism
Position feedback can be a condition for the next action, such as switching on a light after an element opens.
From signal
to response
A button or sensor sends a signal to the controller input. The app uses the input state to trigger the assigned action.
- 01Trigger
Button or sensor
Signal from the layout
- 02Reading
Controller input
State reading
- 03Action
Rule in the app
Condition and action
- 04On the layout
Device
Layout response
What to prepare
Materials and wiringButtons and sensors
Match the signal type to the controller input: a contact, a digital state or another supported reading.
Controller and inputs
The architecture includes Arduino nodes and I/O expanders. Check the requirements of the specific device.
Output device
A light, servo or other component that should respond to the signal.
Prepare your setup
Signal path
See where sensors and I/O expanders fit into the architecture.
View the architectureInitial setup
Test a single device first, then add dependencies.
Go to your first projectCheck pin labels, supply voltage and signal type in the documentation for your selected sensor and controller input.
Expand your layout
Hardware, effects and files from the catalogue. Match them to the devices and scenes you are working on.
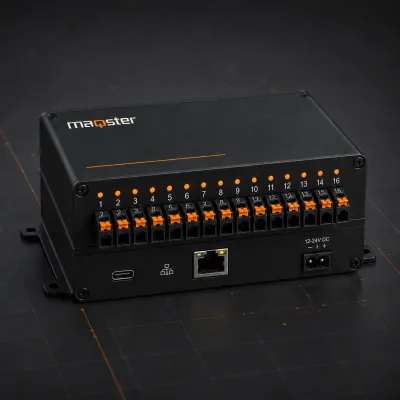
Input and output controller
16 configurable I/O channels for layout automation.
View product Coming soon